UV filters test
3. Testing procedure
We decided to use the 72mm thread UV filters. There are a couple of reasons to do so. First of all, this size thread is very popular for lenses. Secondly, it is more difficult to obtain such a large and ideally flat glass surface, which would force the manufacturers to use higher quality and more expensive standards. In spite of our efforts to keep the same diameter, there are two filters of different diameter: the Marumi UV WPC (77 mm) and Kenko Pro1 Digital (67 mm). In both cases we used reduction rings to fit the filters on our test lens. It is worth mentioning this fact since this can influence the evaluation in the vignetting category. If both filters were 72mm we would expect that the Kenko would have better results and the Marumi would possibly have weaker results (although this is less probable since we have the slim version of the Marumi).
All the photographic tests were conducted with a D200 Nikon camera and a Sigma 17-70 mm f/2.8-4.5 DC Macro lens.
Please Support UsIf you enjoy our reviews and articles, and you want us to continue our work please, support our website by donating through PayPal. The funds are going to be used for paying our editorial team, renting servers, and equipping our testing studio; only that way we will be able to continue providing you interesting content for free. |
- - - - - - - - - - - - - - - - - - - - - - - - - - - - - - - - - - - - - - - - - - - - - - - -
We have looked closely at three main parameters while testing the UV filters. The way of testing and the evaluation points in each category are below.
Light transmission
We measured the transmission of a 1.5 nm light beam in the 200-1000 nm range with the help of the Hitachi U-2900 spectrophotometer. The measurements were conducted every 5 nm and the accuracy of the test results was 0.3%.
In this category we tested the filters in the visible range as well as their ability to transmit UV radiation. We considered the light wave of 390 to 750 nm in length as the visible range. We gave points according to the chart below, in which we showed the relation between the light transmitted through the filter relative to the total amount of radiation transmitted in the tested range.
We consider the radiation with a wave shorter than 390 nm as being in the UV range. We gave points for the smallest UV radiation transmission according to the following format:
As you can see from the charts above the filter, which is completely transparent for the visible light and doesn’t transmit UV radiation, we were able to award as many as 20 points.
Flares
We all know that the filter is a glass element that influences the lens’s performance. Therefore, we have tested the filters and their influence on the artifacts and flares present while taking pictures in bright light. This parameter is very important since, as we mentioned above, the UV filters are often used as a protection element and are used in everyday photography.
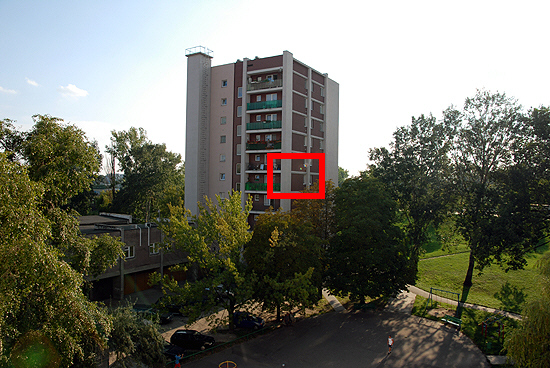
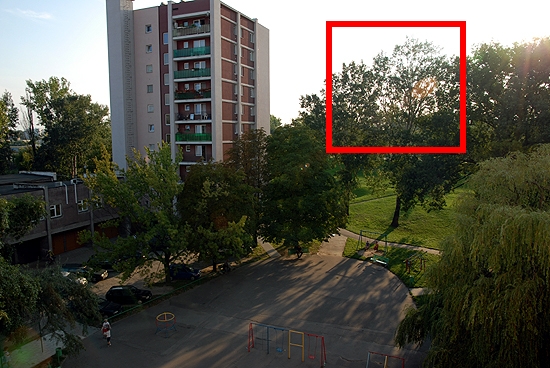
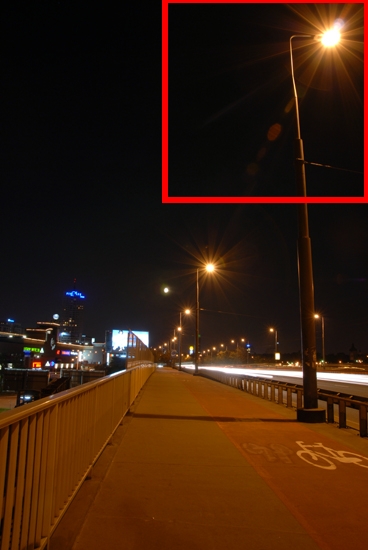
To check the filter’s performance in bright light we tested it in three scenarios: two day light scenarios and one night scenario. The pictures were taken with the Nikon D200 camera and the Sigma 17-70 mm f/2.8-4.5 DC Macro lens set up at 17mm focal length.


We have evaluated the filter and given points according to the following method. We evaluated each scene clipping on a 0 to 5 scale, where 5 is a picture without any flares relative to a picture without a filter. A 0 would be a picture with a major flare defect. After adding the points from three different scenes the perfect filter would receive 15 points in this category.
Vignetting
Knowing the vignetting level achieved by the lens itself (set at 17mm, with a field of view of 80deg on the Nikon D200 detector) we checked whether or not the filter results in more darkening at the edges of the frame. We have taken pictures in a couple of camera locations in relation to an evenly lit area. We took into consideration the average results. Points were given according to the following system:
In summary, the ideal filter could accumulate as many as 40 points in all categories. Have any of the filters succeeded? You will have a chance to see in the next chapter.


